How to have Multiple Instances of Project Server 2003 on 1 Machine
How to have Multiple Instances of Project Server 2003 on 1 Machine
How to have Multi[ple Instances of Project server on 1 Machine
I am using the following as examples throughout this article this will describe the steps needed to follow using EditSite tool by Microsoft:
SQL Server : Shounakp (my machine)
Database Name : ProjServer
Site name : ProjServer
Edit site tool : http://go.microsoft.com/fwlink/?LinkId=20891
-
- Copy the DATABASE directory – inside the support directory from your SQL 2002/ MS Project server installation CD, to the local drive on your SQL server (Server containing the ProjectServer DB).
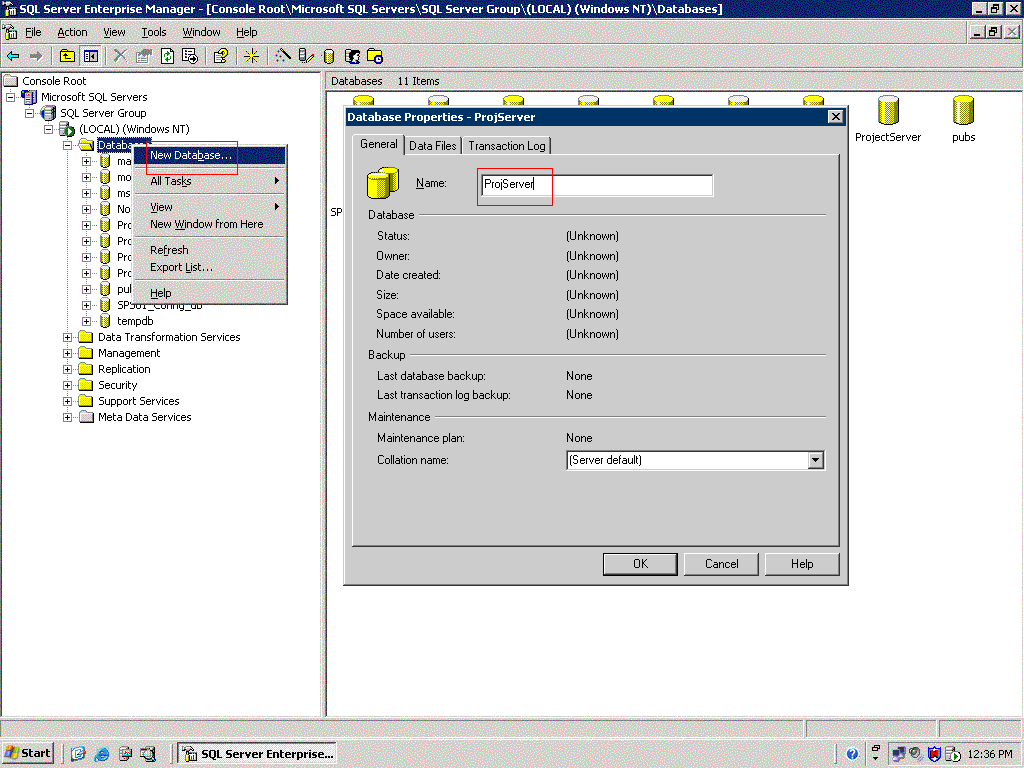
- Create the new DB ( check fig below ) that will host your new Project Server instance in your SQL server. We need the
file.
NOTE: We cannot name the new instance DB as ProjectServer since the already existing instance of project server creates a DB named ProjectServer for use.
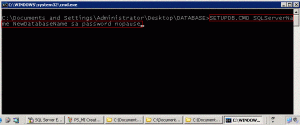
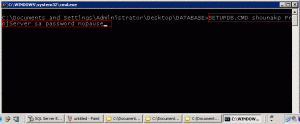
3. On your SQL server, go to command prompt and execute the following command from the Database directory.
4. In this case,
5. Hit ‘Enter”
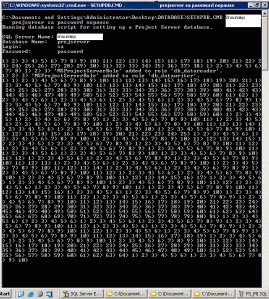
6. The processing will take up few minutes let it finish properly (check the following screen)
7. The screen will look like the following screen shot, you will have to press any key to continue.
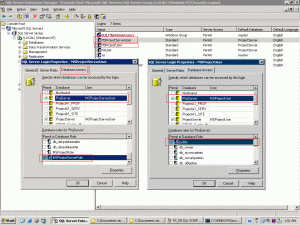
8. We need to grant permissions to the MSProject Roles on our new instance Database. Follow the steps
-
-
- Open SQL Server Enterprise Manager
- Click
- Click
- Double-click on MSProjectServerUser and grant permission to access the new Dataabse instance
- Check
and .in the in ProjServer DB (the name of your new DB is) Tab - Double-click on MSProjectUser and grant permission to access the new
Db - Check
and in the Dabase Roles in ProjServer (the name of your new DB is) Tab
-
See the following snap shot :-
9. Install the EditSite tool
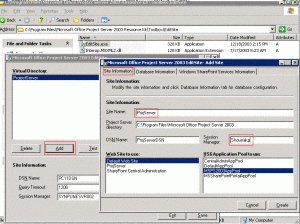
10. Browse to C:\Program Files\Microsoft Office Project Server 2003 Resource Kit\Toolbox\EditSite and open the tool .
11. Click on “Add” in the Edit Site tool.A prompt will appear with focus on
12. Enter the
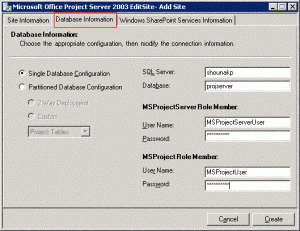
13. Click on the Database Information tab and fill in the details.
-
- Enter the name of your SQL server, the name of your new manually created DB (in my case I used ProjServer)
- Enter the SQL user that has the MSProjectServerRole in ITProjects DB (in my case I used MSProjectServerUser with password “password”) and its respective password.
- Do the above for the MSProjectRole Member (in my case I used MSProjectUser with password “password”.
14. Click on the
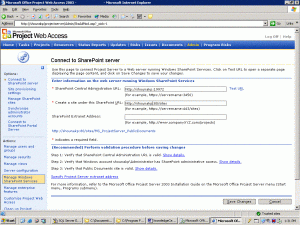
We need to use the same Sharepoint Services settings that we are already using for the 1st instance of Project Server
Hence we can get the WSS Settings from the 1st instance of the ProjectServer.
By following the path : Admin - > Manage Windows Sharepoint Services (See snapshot)
15. Click on Create of Edit Site tool You will get the message indicating that the new site was successfully created
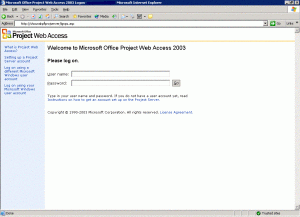
16. Open IE and go to your new PWA instance. In my case, I go to http://shounakp/ProjServer
You will be given the following screen :-
17. Enter User name: Administrator and DO NOT enter a password. Hit “Enter”
You will see your newly created Project Server Instance and this message will pop up giving you the opportunity to change the PWA
Administrator’s password.
Change and save the password
18. Enjoy your newly created Project Server instance.
Cheers!!!!!
UPDATE: Reposting from my previous blog..
Copyright © Shounak Pandit
